Wednesday, December 12, 2012

Antietam After Action Report

I had the pleasure of playing through the Battle of Antietam with a friend the other night.  The rules used were "Civil War Commander" my own riff on the Command & Colors system with input from a variety of sources.  I played the Yankees while my worthy adversary played the Rebs.

The initial action was in the northern part of the field around and through the infamous cornfield.  Meade's division was the first into the cornfield, but they were quickly driven out by Hood's Texans.  A see-saw battle saw All of Hooker's I corps, Mansfield's XII corps and a brigade of Sedgwick's division of Sumner's II corps, spend themselves against Jackson's wing of the Confederate army.

As both sides wore themselves out in the north, Sumner launched his II corps against the Rebel center.  The Yankees nearly walked right into sunken road, but General Lee quickly shuttled his infantry north from the village of Sharpsburg and held the sunken road in force.  The union put several artillery batteries on the high ground east of the sunken road position, and even attempted to pour fire from their 12 pounder Napoleons straight down the lane.  Marse Robert countered with his own massed artillery battery on the ground outside of Sharpsburg and drove back many of the Yankee guns.  As the artillery duel continued, Sumner's boys assaulted the sunken road in mass.  Here is where the road received its somber nickname of "Bloody Lane". 

In the far south of the field, Burnside watched the proceedings, waiting for orders from McClellan to make his advance.  Whether the orders never arrived or got lost, or were not obeyed we may never know.  But this we do know, Burnside's IX corps never advanced.

Ultimately, through strength of numbers, the Union forces held the cornfield and Dunker Church, and finally the last rebel infantry vacated the gruesome and deadly Bloody Lane.  If only A.P. Hill had arrived in time from Harper's Ferry, perhaps the outcome would have been different.
Hood's Texans attack from the West Woods into the Cornfield.

Stuart's cavalry attack the Yankees in the North Woods.

I Corps and XII Corps approach the East Woods.

Sumner's II Corps survey the sunken road.

Robert E. Lee directs the reserves in the village of Sharpsburg.

The last remnant of Sedgwick's division is surrounded in Bloody Lane.

Lee's artillery in the center of the field.

The cornfield is in Union hands but the Dunker Church is still held by the South.

The entire field as seen from the south.

Once again, the cornfield is taken by the Rebs.

The battle ended with  Bloody Lane and the Dunker Church held by the Yankees.

The final disposition.

Burnside's IX corps never made a move against Toomb's Georgia boys.

Wednesday, December 5, 2012

Antietam Scenario Map

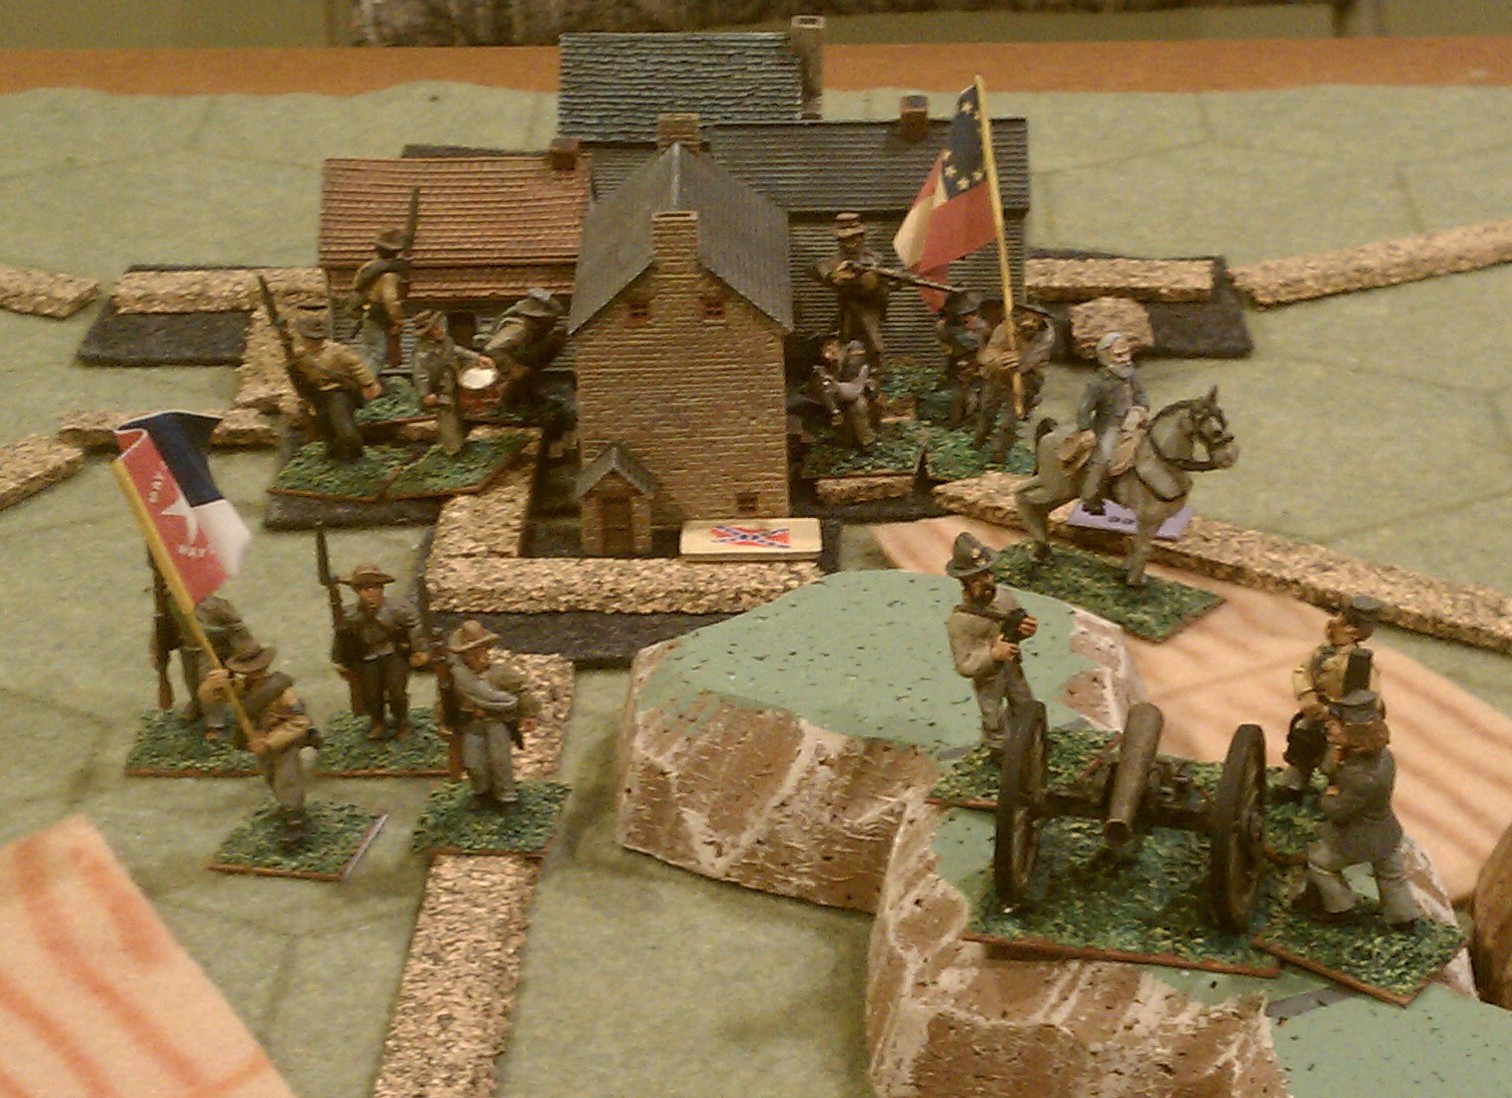
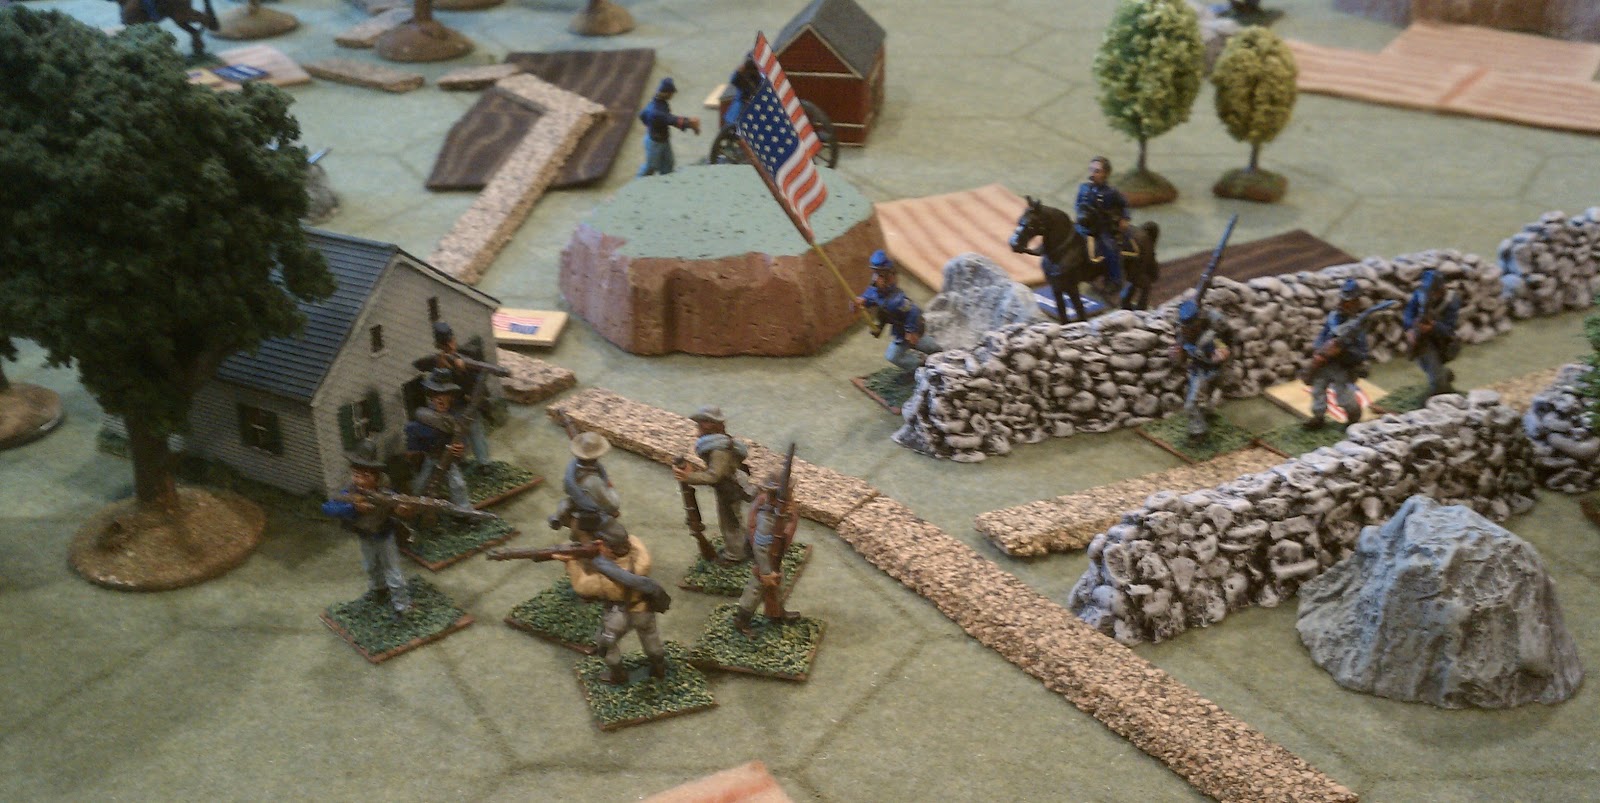
Here is the map for my Antietam scenario.  This battle is fought at "division" scale with each figure representing about 500 men.  This scenario uses my own unpublished rules.  The order of battle for this scenario is below.


Antietam OOB – Union                   Organization: 5 cards
Army of the Potomac – McClellan [MC: General I**]          (Reinforcement #5 – location 1 or 2)
I Corps – Hooker [H: General I**]
1st Division – Doubleday
               2 Infantry units (D1, D2)
               1 Smoothbore Artillery – 2 crew (D3)
2nd Division – Ricketts
               1 Infantry unit (Rk1)
               1 Rifled Artillery – 2 crew (Rk2)
3rd Division – Meade [Md: General III**]
               2 Infantry units (Md1, Md2)

II Corps – Sumner [S: General II*]
1st Division – Richardson                                              (Reinforcement #3 – location 1)
               2 Infantry units (Ri1, Ri2)
2nd Division – Sedgwick                                               (Reinforcement #1 – location 1)
               3 Infantry units (Se1, Se2, Se3)
               1 Rifled Artillery – 2 crew (Se4)
3rd Division – French                                                    (Reinforcement #2 – location 1)
               2 Infantry units (F1, F2)
               1 Smoothbore Artillery – 2 crew (F3)

IX Corps – Burnside [B: General III*]
1st Division – Willcox
               1 Infantry unit (Wc1)
2nd Division – Sturgis
               1 Infantry unit (St1)
               1 Rifled Artillery – 2 crew (St2)
3rd Division – Rodman
               1 Infantry unit (Ro1)
Kanawha Division – Scammon
               1 Infantry unit (K1)
               1 Rifled Artillery – 2 crew (K2)

XII Corps – Mansfield [Mn: General II**]
1st Division – Williams
               2 Infantry units (Wm1, Wm2)
2nd Division – Greene
               1 Infantry unit (G1)
1 Rifled Artillery – 3 crew (Mn1)

Pleasonton’s Cavalry                                                                (Reinforcement #4 – location 1 or 2)
               1 Cavalry unit (P1)


Antietam OOB – Confederate                      Organization: 5 cards
Army of Northern Virginia – Lee [Lee: General I***]
Longstreet’s Corps – Longstreet [Lo: General II**]
McClaws’ Division                                                      (Reinforcement #2 – location 1)
               2 Infantry units (Mc1, Mc2)
               1 Rifled Artillery – 2 crew (Mc3)
Anderson’s Division                                                    (Reinforcement #3 – location 1)
               2 Infantry units (A1, A2)
               1 Rifled Artillery – 1 crew (A3)
D.R. Jones’ Division
               2 Infantry units (J1, J2)
               1 Rifled Artillery – 1 crew (J3)
Walker’s Division
               2 Infantry units (W1, W2)
               Hood’s Division – Hood [Ho: General I**]
               2 Infantry units (Ho1, Ho2)
               1 Smoothbore Artillery – 3 crew (Ho3)

Jackson’s Corps – Jackson [J: General III**]
Ewell’s Division
               2 Infantry units (E1, E2)
A.P. Hill’s Division – A.P. Hill [AH: General II**]      (Reinforcement #5 – location 2)
               3 Infantry units (AH1, AH2, AH3)
               1 Smoothbore Artillery – 2 crew (AH4)
Stonewall Division
               1 Infantry units (S1)
               1 Smoothbore Artillery – 3 crew (S2)
D.H. Hill’s Division
               3 Infantry units (DH1, DH2, DH3)

Pendleton’s Artillery Reserve
1 Smoothbore Artillery – 3 crew (P1)

Stuart’s Cavalry – Stuart [S: General III*]
               Fitzhugh Lee’s Cavalry
                              1 Cavalry unit (F1)
               Munford’s Cavalry                                                   (Reinforcement #4 – location 3)
                              1 Cavalry unit (Mu1)

                                                                                               (Reinforcement #1 – nothing)
 

Thursday, November 29, 2012

All of Antietam on One Table!

Wow it's been a long time folks.  Life has been busy to say the least.  But lately I have revisited the battle of Antietam with my own Civil War Commander rules.  For this battle I tweaked up the scale so that each hex is about 250 yards and each infantry figure is 500 men.  By doing this I can have the table cover the ground from just south of Burnside's bridge, to just north of the North Woods and Poffenberger's farm.  AS far as the Order of Battle goes, I have all of the CSA army represented, and all of the Federal army except for Porter's V corps and Franklin's VI corps.  Since they did not take part in the action to a significant degree, it's okay with me to leave them out.

So here are two photos of the table.  I plan to exchange all of the bright yellow corn fields for a more muted beige color.  It looks too busy as is.  Otherwise, I kind of like it. 
View from the north east.  Miller cornfield is in the foreground, the Dunker Church in the center, Sharpsburg in the distance.

Ground view looking across the cornfield to the Dunker Church.

Saturday, January 21, 2012

Wednesday, January 18, 2012

High Command

I recently painted three more mounted generals; Lee, McClellan, and Grant.  I was not able to get a good picture of Grant using my phone, and only got a passable photo of McClellan.  But I really lucked out with this photo of Lee.  Maybe some time in the future, I will get the good camera, and some lights and a tripod and do these figures justice.  I really like the way they each turned out.
Robert E. Lee

George McClellan

Monday, January 16, 2012

Mechanicsville - Order of Battle

Here is the OOB I am using for the Mechanicsville scenario

UNION:   (organization value: 4 cards)

V Corps – BG Porter [P: General I]
1st Division – BG Morell [Mo: General II]
              1st Brigade (Martindale)                             (Reinforcement 1)
[Ma1, Ma2, Ma3: 3 Infantry units]
              2nd Brigade – (Griffin)
[G1, G2, G3: 3 Infantry Unit]
                             Division Artillery
                             [Mo1: Smoothbore with 3 crew]
                             [Mo2: Rifle with 2 crew]
3rd Division – (Col McCall)
              1st Brigade BG Reynolds [R: General III]
[R1, R2, R3: 3 Infantry units]
              2nd Brigade BG Meade [Me: General III]                     
[Me1, Me2, Me3: 3 Infantry units]
              3rd Brigade (Seymour)
[S1, S2, S3: 3 Infantry units]
                             Division Artillery
                             [Mc1: Smoothbore with 2 crew]
                             [Mc2: Rifle with 2 crew]
                             [Mc3: Rifle with 2 crew]
                                           [Mc4: Smoothbore with 2 crew]
Bolded units are in fieldworks

CONFEDERATE:      (organization value: 5 cards)

Light Division – MG A.P. Hill [H: General I]
              1st Field’s Brigade (Field)
[F1, F2: 2 Infantry units]
              2nd Gregg’s Brigade – BG Gregg [G: General III]
[G1, G2, G3: 3 Infantry units]
3rd J.R. Anderson’s Brigade (Anderson)
[An1, An2: 2 Infantry units]
4th Branch’s Brigade (Branch)
[B1, B2: 2 Infantry units]
5th Archer’s Brigade – BG Archer [Ar: General III]
[Ar1, Ar2: 2 Infantry units]
6th Pender’s Brigade – BG Pender [P: General II]
[P1, P2, P3: 3 Infantry units]
Division Artillery
              [H1: Smoothbore with 2 crew]
              [H2: Smoothbore with 2 crew]
              [H3: Rifle with 1 crew]
              [H4: Rifle with 2 crew]
              [H5: Rifle with 1 crew]
              [H6: Rifle with 2 crew]
D.H Hill’s Division
              5th Ripley’s Brigade – BG Ripley [R: General II]
[R1, R2: 2 Infantry units]


Now I realize this is not entirely clear since I have not yet posted the rules for this game, but most of you who are into this kind of stuff can likely glean out some info anyway.  Enjoy!

Friday, January 13, 2012

Mechanicsville - photos

Here are a few photos of an ongoing play-test of the Mechanicsville scenario.  Three turns have been completed, The feds are massing troops near the creek at the north end of the field.  The rebs managed to knock out one artillery battery on the south end, and then A.P. Hill has just thrown forward the bulk of the light division.  Enjoy the pictures.
Morell's division on the north end of the table

The light division approaches the creek

Porter's men see the rebs coming their way

And here is the scenario map.

Tuesday, January 10, 2012

Mechanicsville June 26th, 1862

This is a scene from my game table right now.  The battle is Mechanicsville VA, Jne 26th 1862.  Also known as Beaver Dam Creek.  This was the first of the Seven Days Battles.  After I've played it through once or twice I will post a map and order of battle.  But in the mean time you will just have to enjoy the one picture.