Tuesday, March 11, 2014

WWII Soviets: Basing and Priming


World War II Soviets

I like the WWII figures I have from Black Tree Designs.  I have a good size collection of Germans and Americans already painted, along with the obligatory pile of unpainted figures from each of those armies.  A while ago I purchased a large platoon of Soviets along with some support figures and weapons also from Black Tree Designs.  I painted 12 of them at the end of 2012, but since then I have not painted any more of them.  Now I have set out 16 more figures to paint as the next part of this project.  At the moment they are just based and primed.  I intend to blog about the entire process of paining this group of figures.  Here in part one I will describe the figures I’ve chosen and then describe my process of basing and priming them.
World War II Soviets

Figures

The sixteen figures I’ve chosen consist of; 9 men with the Mosin-Nagant 91/30 rifle, 3 men with the PPSh-41 submachine gun, a gunner with the DP-28, an assistant gunner, a scout carrying a PPSh-41, and finally a sniper with a scoped Mosin-Nagant.  Combined with the 12 figures I’ve previously painted this will give me enough figures to put together two soviet squads.
Soviet Riflemen
Soviets with SMG
LMG team, Scout, and Sniper

Cleaning

When figures come fresh out of the bag they normally have to have all of the flashing removed.  Flashing is all of the excess metal that is still hanging on to the figure and is not part of the sculpted model.  Flashing usually comes from the mold vents or along the edges of the mold.  I carefully look over each figure and cut or scrape off this excess with an X-Acto knife.  I also take a heavy craft knife and scrape the base of the figure smooth enough so that it can stand up on its own.  Some models may need to be slightly bent to get the center of gravity over top of the base so they can stand on their own.
Fender washers and "unclean" miniatures!

Basing

I base my WWII infantry on 1”x1/8” fender washers.  You can get a package of 30 of these at your local big-box hardware store for about $5.  Using super glue (cyanoacrylate glue), put a drop or two on each end of the bottom of the figure base, and then glue the figure onto the fender washer.  I try my best to cover the hole in the washer as I do this.  I let them dry before proceeding – you want this bond to be nice and strong.
Some germans glued to their bases
I like to use washers because they give the figure some bottom-heaviness and thus they will stand better on slopes.  I can also put magnetic sheet on the bottom of my storage boxes and the figures will stick to it.  The aesthetic look is also preferable to a thicker plastic base, they are standing much closer to the terrain surface when they are on the battlefield.  For linear warfare figures, like my ACW collection, I use square or rectangular metal bases instead of a round washer.

Ballast

Once the glue is dry I add texture to the base using gesso and model railroad ballast.  First, take a disposable plastic cup and cut it down to be about 2 inches high and fill it about a half inch deep with ballast.  Using an old brush, paint gesso onto the top side of the washer right up to the edges of the models feet, but don’t touch the model.  I add big globs of gesso to smooth the transition line between the figure base and the washer.  While it is still wet, put it into the cup of ballast and shake the ballast all over the wet gesso.  Remove the figure from the ballast, firmly tap off the excess ballast, and then place the figure down to dry for a couple of hours.
Bottle of Gesso and some ballast in a small cup

Priming

Once the gesso is dry the figure can be primed.  Priming is a topic of differing opinions in the world of miniatures painting.  Basically the opinions are black and white.  I choose white.  If you are like me then take your handy can of flat white spray paint and go to it.  If you are a black primer, then feel free to prime in black at this point.  (But if you do use black primer, the rest of this series of posts will be of limited value to you.)  Be sure to use spray paint in a well-ventilated area.  Get decent spray paint coverage, but not so thick that you obscure details of the miniatures.  The primer is there just to provide a surface that your acrylic paints can readily adhere to.  If you don’t get perfect coverage, it’s okay.  At this point, I like to allow the miniatures to dry for several hours before doing anything else, you really want the gesso and primer to cure completely.
With this method of basing, a few grains of ballast will fall off whenever you handle the miniature.  At first it is a pain, and you will be constantly sweeping off your work area.  But after a while, all of the loose ones will be gone, and that is exactly what you want before you paint the base of the miniature.
Based, primed and ready for painting!

Next Time:WWII Soviets: Flesh

Friday, June 14, 2013

The Game Table has Moved

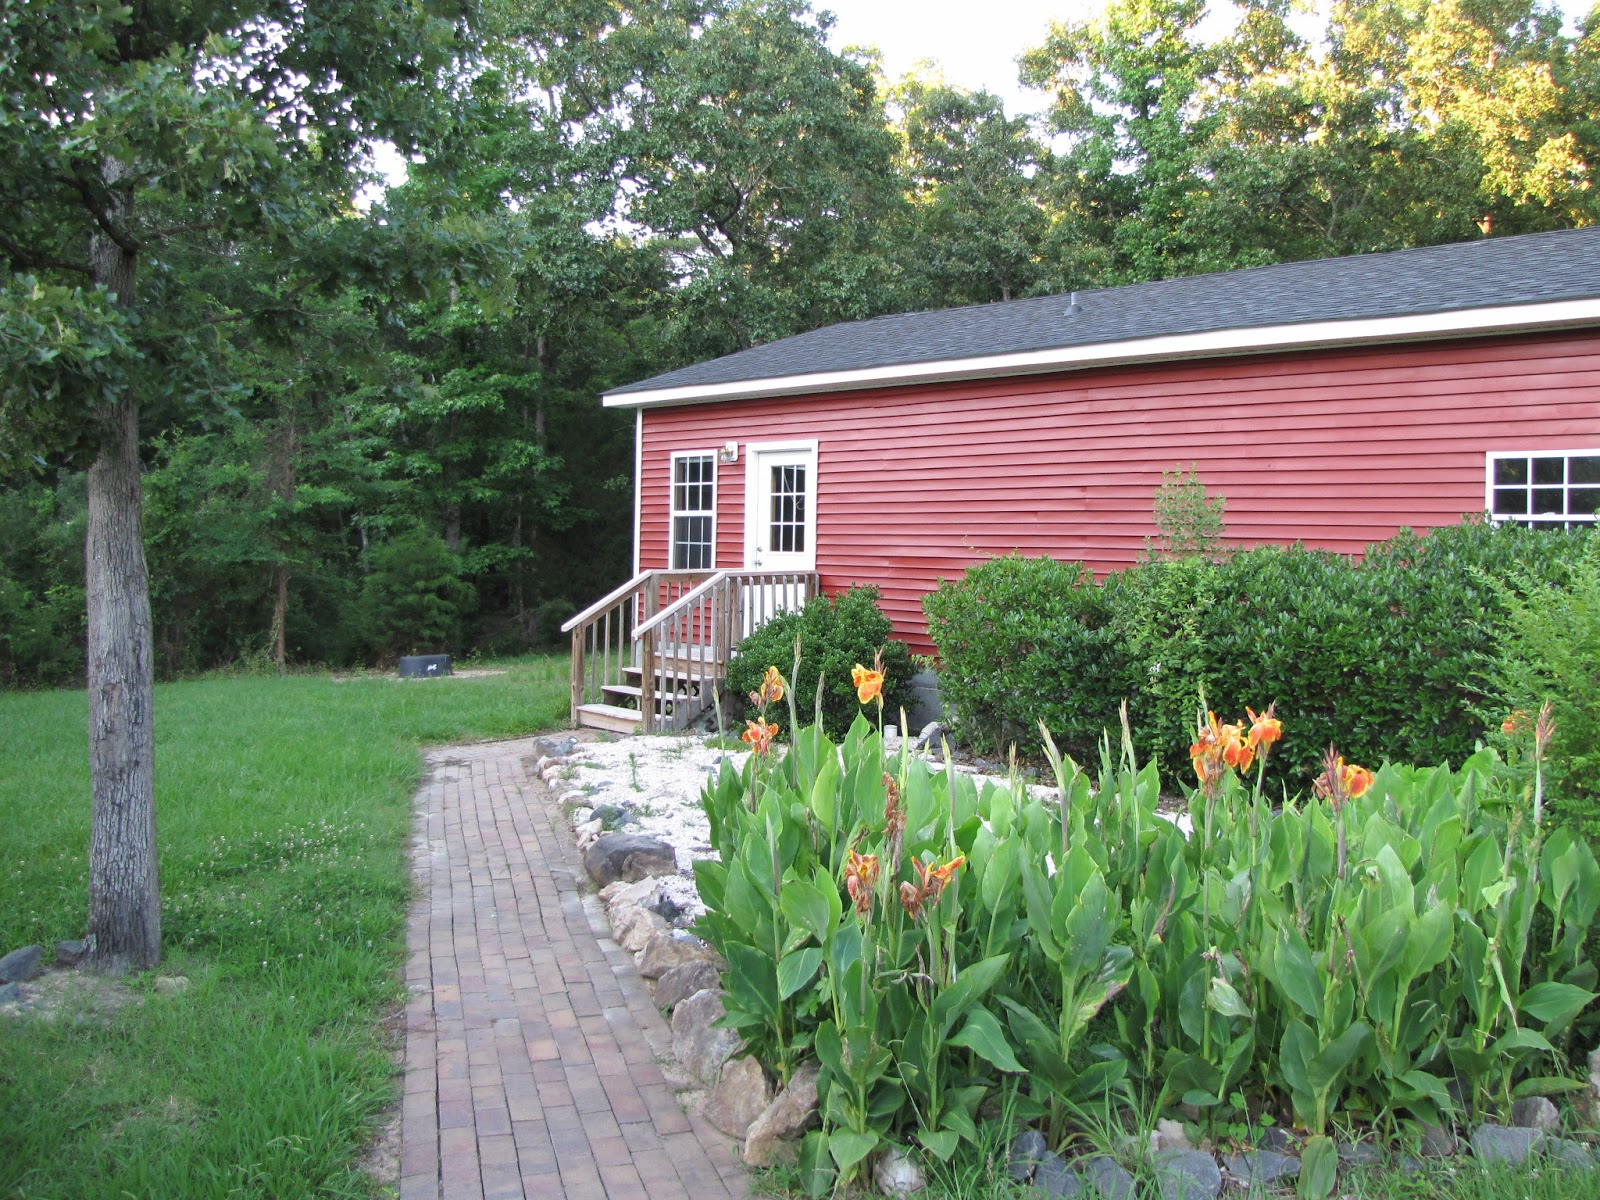
Yes, the game table has moved about 425 miles to be precise.  But the good news is that it is up and functional once again.  It is now located in the back of the garage at my new home in North Carolina.  Here is a photo of the brick path that leads to the back door of the detached garage.
Once inside you can see the finished studio room with its own bath and kitchenette.  I have not yet hung any of my pictures or maps, but I have stacked all of my games on the shelf and set up the painting area.  The center of the room is of course the game table, currently hosting an impromptu Second Punic War type of battle.


Here is a closer view of the action on the game table.  This is a test of my own hex-based ancients rules called "Sons of Mars".  This set of rules has gone through so many revisions, but I like it now better than ever. 
Along with many projects and chores of getting settled into a new home, I have also found time to finish painting a unit of 20 Spanish scutari.  Next up is 8 Balearic slingers.  Enjoy.

Wednesday, December 12, 2012

Antietam After Action Report

I had the pleasure of playing through the Battle of Antietam with a friend the other night.  The rules used were "Civil War Commander" my own riff on the Command & Colors system with input from a variety of sources.  I played the Yankees while my worthy adversary played the Rebs.

The initial action was in the northern part of the field around and through the infamous cornfield.  Meade's division was the first into the cornfield, but they were quickly driven out by Hood's Texans.  A see-saw battle saw All of Hooker's I corps, Mansfield's XII corps and a brigade of Sedgwick's division of Sumner's II corps, spend themselves against Jackson's wing of the Confederate army.

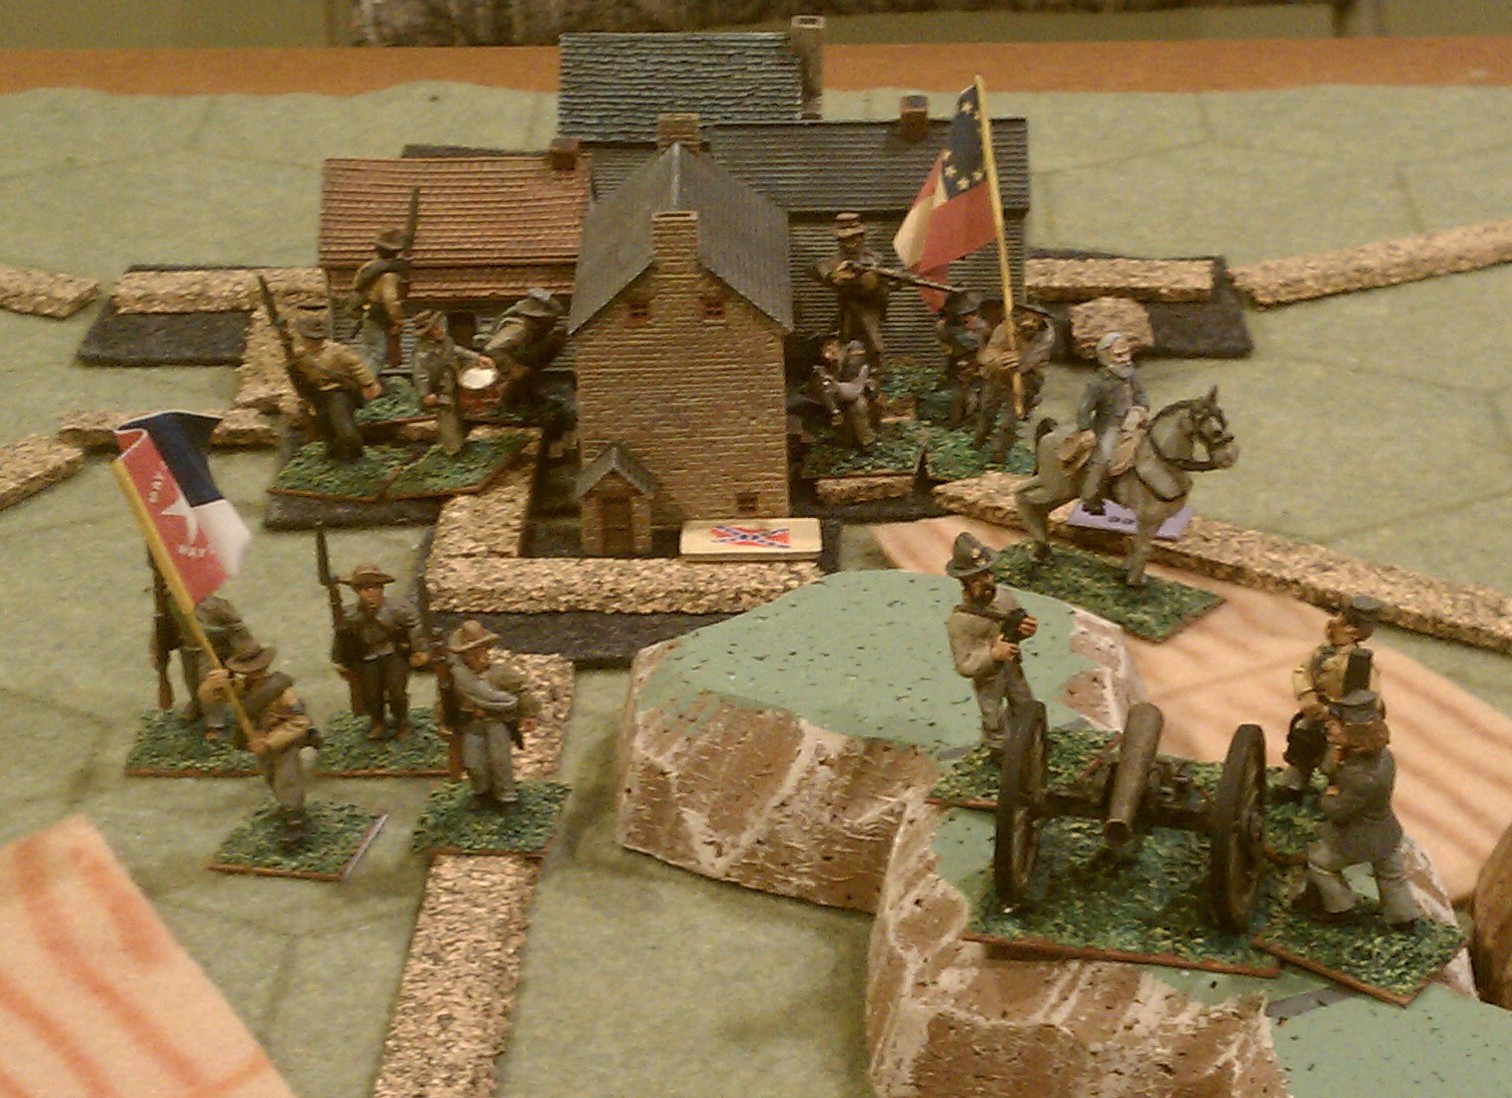
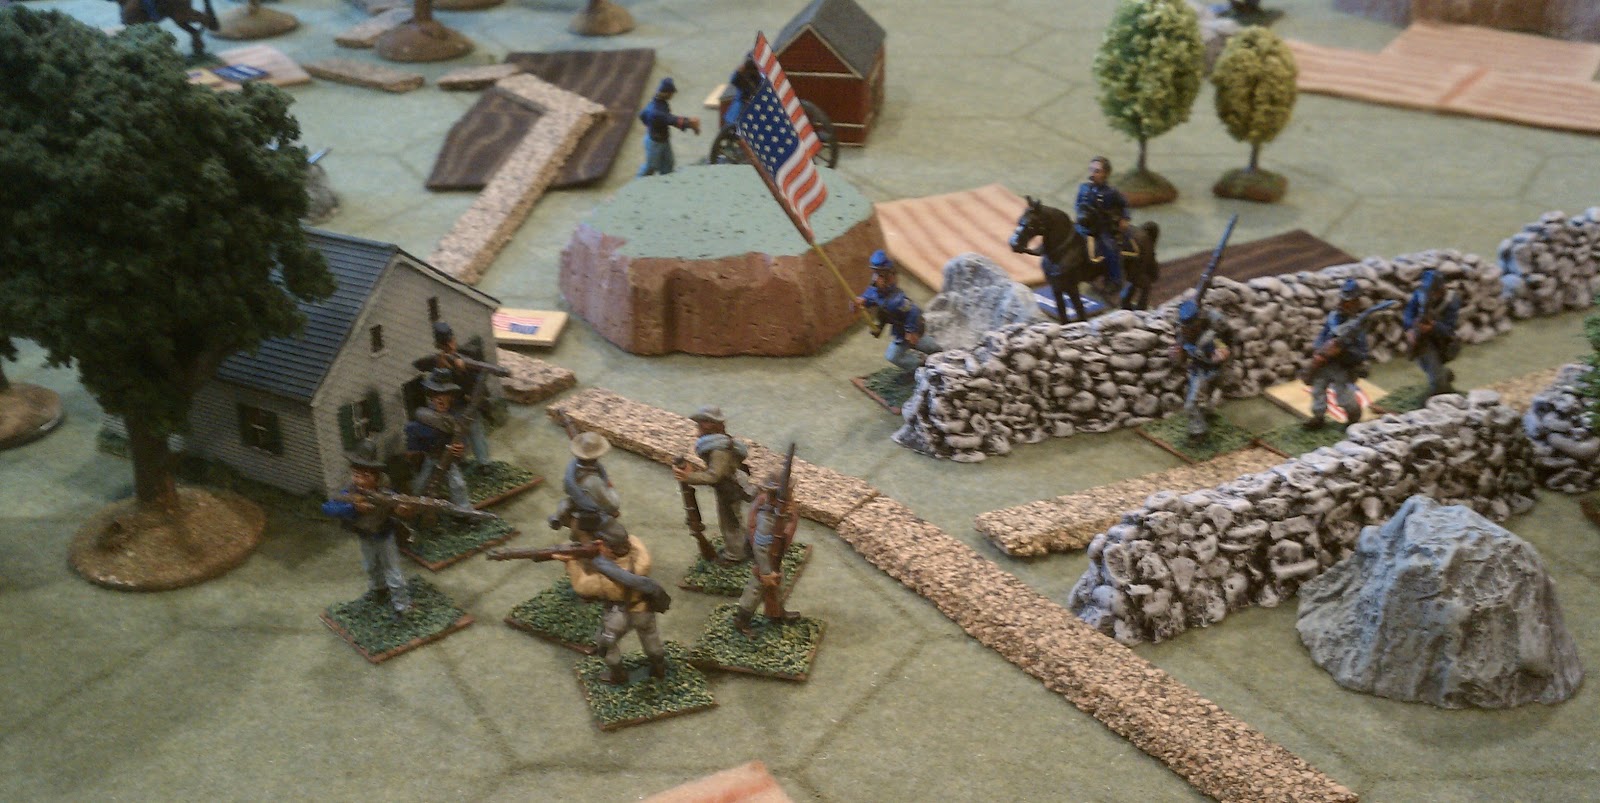
As both sides wore themselves out in the north, Sumner launched his II corps against the Rebel center.  The Yankees nearly walked right into sunken road, but General Lee quickly shuttled his infantry north from the village of Sharpsburg and held the sunken road in force.  The union put several artillery batteries on the high ground east of the sunken road position, and even attempted to pour fire from their 12 pounder Napoleons straight down the lane.  Marse Robert countered with his own massed artillery battery on the ground outside of Sharpsburg and drove back many of the Yankee guns.  As the artillery duel continued, Sumner's boys assaulted the sunken road in mass.  Here is where the road received its somber nickname of "Bloody Lane". 

In the far south of the field, Burnside watched the proceedings, waiting for orders from McClellan to make his advance.  Whether the orders never arrived or got lost, or were not obeyed we may never know.  But this we do know, Burnside's IX corps never advanced.

Ultimately, through strength of numbers, the Union forces held the cornfield and Dunker Church, and finally the last rebel infantry vacated the gruesome and deadly Bloody Lane.  If only A.P. Hill had arrived in time from Harper's Ferry, perhaps the outcome would have been different.
Hood's Texans attack from the West Woods into the Cornfield.

Stuart's cavalry attack the Yankees in the North Woods.

I Corps and XII Corps approach the East Woods.

Sumner's II Corps survey the sunken road.

Robert E. Lee directs the reserves in the village of Sharpsburg.

The last remnant of Sedgwick's division is surrounded in Bloody Lane.

Lee's artillery in the center of the field.

The cornfield is in Union hands but the Dunker Church is still held by the South.

The entire field as seen from the south.

Once again, the cornfield is taken by the Rebs.

The battle ended with  Bloody Lane and the Dunker Church held by the Yankees.

The final disposition.

Burnside's IX corps never made a move against Toomb's Georgia boys.

Wednesday, December 5, 2012

Antietam Scenario Map

Here is the map for my Antietam scenario.  This battle is fought at "division" scale with each figure representing about 500 men.  This scenario uses my own unpublished rules.  The order of battle for this scenario is below.


Antietam OOB – Union                   Organization: 5 cards
Army of the Potomac – McClellan [MC: General I**]          (Reinforcement #5 – location 1 or 2)
I Corps – Hooker [H: General I**]
1st Division – Doubleday
               2 Infantry units (D1, D2)
               1 Smoothbore Artillery – 2 crew (D3)
2nd Division – Ricketts
               1 Infantry unit (Rk1)
               1 Rifled Artillery – 2 crew (Rk2)
3rd Division – Meade [Md: General III**]
               2 Infantry units (Md1, Md2)

II Corps – Sumner [S: General II*]
1st Division – Richardson                                              (Reinforcement #3 – location 1)
               2 Infantry units (Ri1, Ri2)
2nd Division – Sedgwick                                               (Reinforcement #1 – location 1)
               3 Infantry units (Se1, Se2, Se3)
               1 Rifled Artillery – 2 crew (Se4)
3rd Division – French                                                    (Reinforcement #2 – location 1)
               2 Infantry units (F1, F2)
               1 Smoothbore Artillery – 2 crew (F3)

IX Corps – Burnside [B: General III*]
1st Division – Willcox
               1 Infantry unit (Wc1)
2nd Division – Sturgis
               1 Infantry unit (St1)
               1 Rifled Artillery – 2 crew (St2)
3rd Division – Rodman
               1 Infantry unit (Ro1)
Kanawha Division – Scammon
               1 Infantry unit (K1)
               1 Rifled Artillery – 2 crew (K2)

XII Corps – Mansfield [Mn: General II**]
1st Division – Williams
               2 Infantry units (Wm1, Wm2)
2nd Division – Greene
               1 Infantry unit (G1)
1 Rifled Artillery – 3 crew (Mn1)

Pleasonton’s Cavalry                                                                (Reinforcement #4 – location 1 or 2)
               1 Cavalry unit (P1)


Antietam OOB – Confederate                      Organization: 5 cards
Army of Northern Virginia – Lee [Lee: General I***]
Longstreet’s Corps – Longstreet [Lo: General II**]
McClaws’ Division                                                      (Reinforcement #2 – location 1)
               2 Infantry units (Mc1, Mc2)
               1 Rifled Artillery – 2 crew (Mc3)
Anderson’s Division                                                    (Reinforcement #3 – location 1)
               2 Infantry units (A1, A2)
               1 Rifled Artillery – 1 crew (A3)
D.R. Jones’ Division
               2 Infantry units (J1, J2)
               1 Rifled Artillery – 1 crew (J3)
Walker’s Division
               2 Infantry units (W1, W2)
               Hood’s Division – Hood [Ho: General I**]
               2 Infantry units (Ho1, Ho2)
               1 Smoothbore Artillery – 3 crew (Ho3)

Jackson’s Corps – Jackson [J: General III**]
Ewell’s Division
               2 Infantry units (E1, E2)
A.P. Hill’s Division – A.P. Hill [AH: General II**]      (Reinforcement #5 – location 2)
               3 Infantry units (AH1, AH2, AH3)
               1 Smoothbore Artillery – 2 crew (AH4)
Stonewall Division
               1 Infantry units (S1)
               1 Smoothbore Artillery – 3 crew (S2)
D.H. Hill’s Division
               3 Infantry units (DH1, DH2, DH3)

Pendleton’s Artillery Reserve
1 Smoothbore Artillery – 3 crew (P1)

Stuart’s Cavalry – Stuart [S: General III*]
               Fitzhugh Lee’s Cavalry
                              1 Cavalry unit (F1)
               Munford’s Cavalry                                                   (Reinforcement #4 – location 3)
                              1 Cavalry unit (Mu1)

                                                                                               (Reinforcement #1 – nothing)
 

Thursday, November 29, 2012

All of Antietam on One Table!

Wow it's been a long time folks.  Life has been busy to say the least.  But lately I have revisited the battle of Antietam with my own Civil War Commander rules.  For this battle I tweaked up the scale so that each hex is about 250 yards and each infantry figure is 500 men.  By doing this I can have the table cover the ground from just south of Burnside's bridge, to just north of the North Woods and Poffenberger's farm.  AS far as the Order of Battle goes, I have all of the CSA army represented, and all of the Federal army except for Porter's V corps and Franklin's VI corps.  Since they did not take part in the action to a significant degree, it's okay with me to leave them out.

So here are two photos of the table.  I plan to exchange all of the bright yellow corn fields for a more muted beige color.  It looks too busy as is.  Otherwise, I kind of like it. 
View from the north east.  Miller cornfield is in the foreground, the Dunker Church in the center, Sharpsburg in the distance.

Ground view looking across the cornfield to the Dunker Church.

Saturday, January 21, 2012

Wednesday, January 18, 2012

High Command

I recently painted three more mounted generals; Lee, McClellan, and Grant.  I was not able to get a good picture of Grant using my phone, and only got a passable photo of McClellan.  But I really lucked out with this photo of Lee.  Maybe some time in the future, I will get the good camera, and some lights and a tripod and do these figures justice.  I really like the way they each turned out.
Robert E. Lee

George McClellan